The Pink Panda Auto Injector - User Manual
Assembly
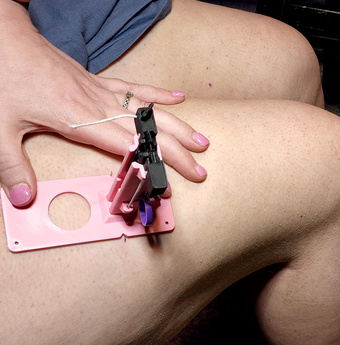
The injector is shipped with the base removed to fit in the box. The injector slides into the base and is secured with a plastic screw. A tool to insert and remove the screw is included for convenience, but any flat-head screwdriver or even a butter knife will work. Be careful not to over-tighten the screw!
Loading the syringe
- Prepare the syringe as you normally would. Attach the injection needle, but leave the cap on for now.
- Flip the syringe puller so that the slot is facing upward.
- Insert the upper flange of the syringe into the lower slot on the puller.
-
Attach the plunger puller:
- Pull the plunger attachment out and around the plunger.
- Push the syringe clip into the syringe puller.
- Attach the plunger attachment to the plunger.
- Remove the needle cap.
- Holding the syringe puller, pull the injector out, then rotate it up so the syringe is inserted into the injector.
Using the alignment tool
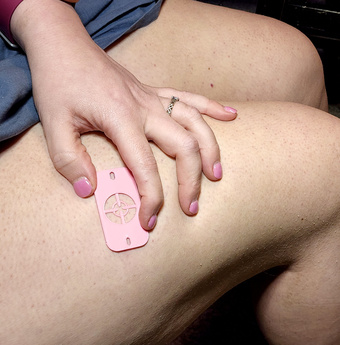
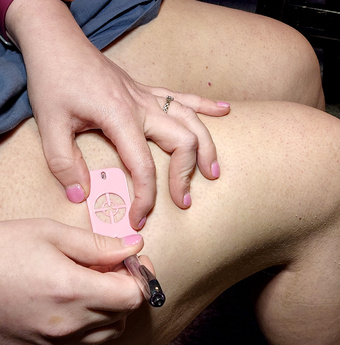
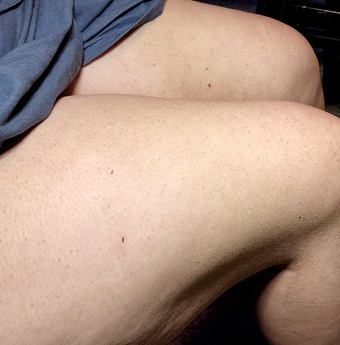
The alignment tool helps you precisely target the injection spot. Place it with the center over the injection site, then take a ball-point pen or marker and draw a line through the holes on each side. These marks will then line up with the notches on the side of the injector base.
Demo video
This is a demonstration video I recorded showing how to load the syringe and perform the injection.


